Cakes are the essence of special occasion celebrations! As there are many occasions to celebrate with a cake, make the best impression on your loved ones with a fresh home-baked cake. If you have ample time on your hands and ingredients, you can express love and best wishes with your efforts to bake and decorate a chocolate cake. You can incorporate many chocolate cake decorating ideas into your cake surprise. Staying miles away from your near and dear ones and looking for a convenient way to make upcoming celebrations cherishable with a yummy chocolate cake? Send cake online with the leading cake bakeries in town. Check out trending options available from chocolate birthday cakes, or anniversary cakes, among other occasions. Read on as we share tips on how to temper chocolate for cake decoration.
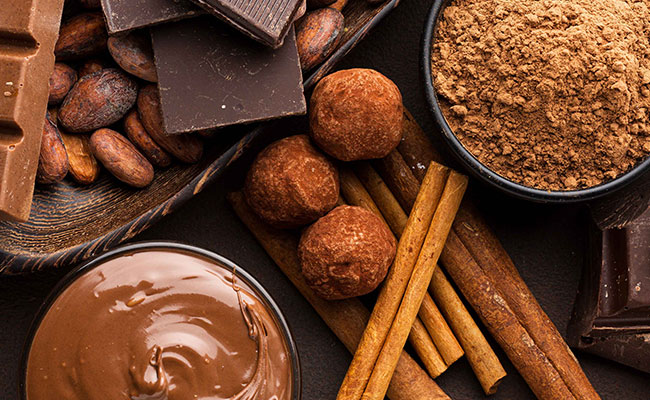

First things first! Why temper chocolate for cake decoration?
When it comes to baking, there are mainly two types of chocolates – compound and couverture chocolate.
Compound chocolate VS Coverture Chocolate:
- Compound chocolate does not require tempering for cake decoration. But that does not mean it’s the perfect ingredient for cakes. Bakers often coin compound chocolate as “Fake Chocolate” because it substitutes cocoa butter with vegetable oil.
- Though couverture chocolate is much easier to work with than regular compound chocolate – It is delicate to work with! The main ingredients for couverture chocolate are sugar, cocoa solids, and cocoa butter. It’s sensitive to temperature. It must be handled properly for the best results. When tempering is done wrong, the chocolate decorations may not sit well, and the cake will melt rapidly at room temperature.
Preparing chocolate for tempering
When melting couverture chocolate, it is important to maintain the temperature levels! So, you must melt the chocolate in a microwave at a slow speed for about 15 seconds at a time. A gradual melting process will give the best results. However, there are variations in chocolate ingredients and volume that every baker must observe and undertake with the utmost care. One close example is the difference between dark chocolate, milk chocolate, and white chocolate.
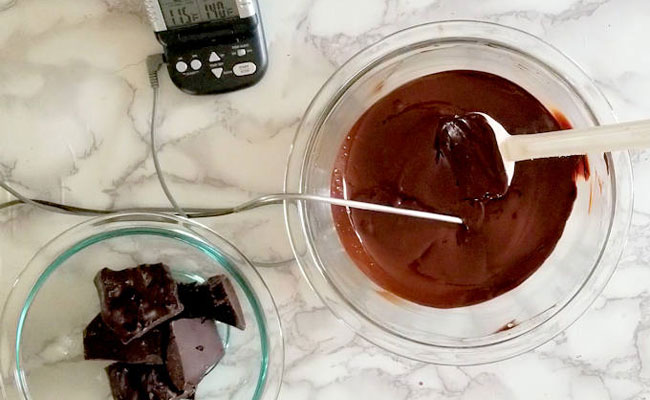

The steps for preparing chocolate for tempering:
- When one melting tip works on dark chocolate, it is not the same as white chocolate or milk chocolate. Chocolates with a higher milk content require lower temperatures when melting as compared to dark and white chocolates.
- Break down the chocolate block into finer pieces, place them in a microwave-safe bowl, and put them in the microwave for at least 15 seconds.The timing however, might vary depending on the type of microwave oven that you are using and the quantity of chocolate which needs to be melted.
- If you are planning to incorporate two or more different types of chocolates, like dark and milk chocolate, you must melt the chocolates separately.
- It is also possible to melt chocolate for tempering decorations without a microwave! All you simply have to do is fill a pot or pan with warm water and place it on the stove with the heat at a minimum; place your bowl with chopped chocolate in the pot/pan and stir gently with a spatula until the mixture is ready for your cake decorations.
- You must never let the chocolate mix with water, or else the chocolate will not melt properly, which is not desirable for chocolate for cake decoration.
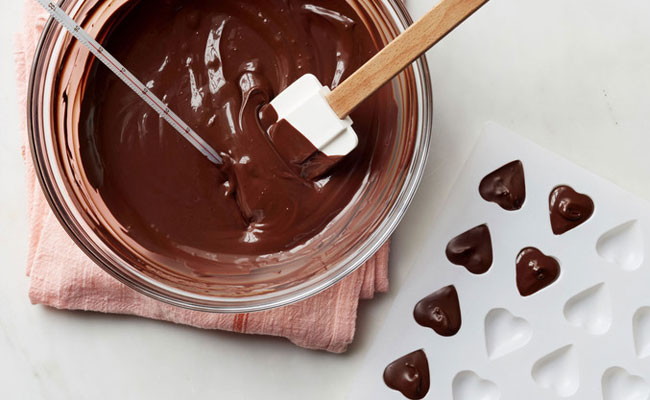

Chocolate cake decoration ideas
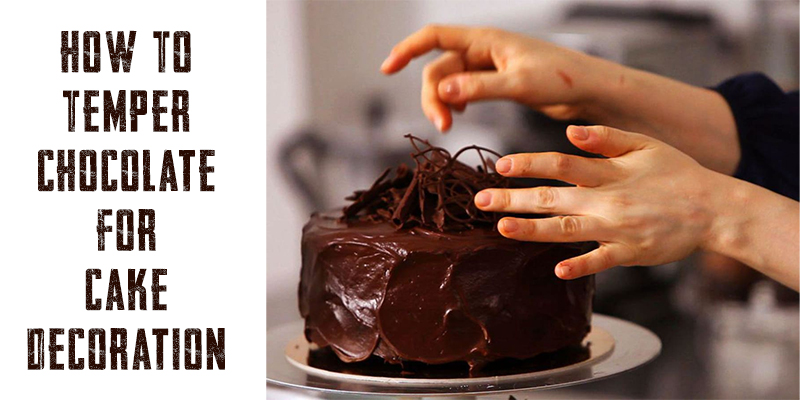
When you have finished melting the chocolate, the next and final step is to put your creative chocolate cake design ideas into action! If you are planning to decorate the cake with letters, numbers, or messages, pour the chocolate into a piping bag and begin the simple chocolate cake designs. There are many types of cake piping bags, from single-use paper, and reusable plastic, to makeshift piping (get a clean plastic bag and fill it with molten chocolate). If you want to decorate the cake with simple shapes and enthralling chocolate squiggle designs, then you can simply use a tea/tablespoon.
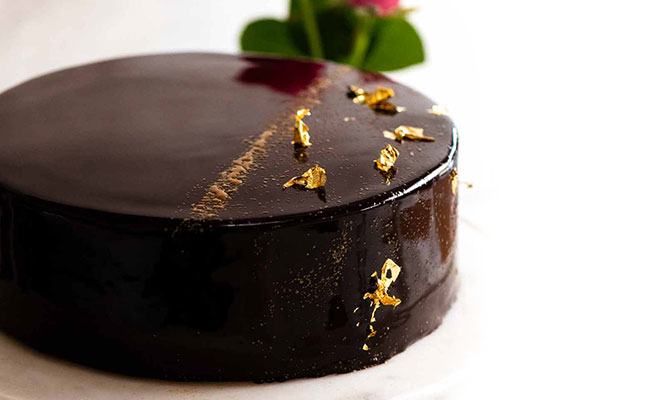

Now that you have the best way to make temper chocolate for chocolate cake decoration. It takes time and practice to perfect your art of decorating cakes. So, don’t stress too much if you have made a mistake. It’s all part of the art – eat it, and make another one!

