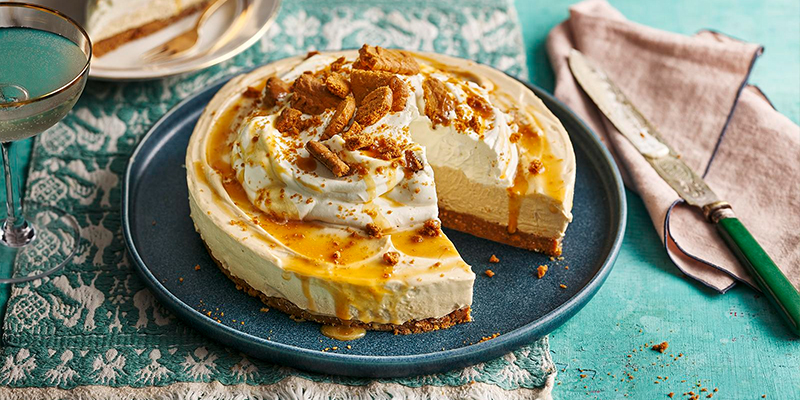
Cheesecake lovers, gather around! We’re about to dive into a recipe that blends the iconic flavour of Biscoff with the silky texture of cheesecake. It’s easy, indulgent, and will become the hero of any gathering. Trust me—you’ll be making this one on repeat.
Whether you’re new to baking or a seasoned dessert enthusiast, this biscoff cheesecake recipe is designed to be foolproof. No fancy techniques, no special equipment—just deliciousness from start to finish. So, let’s get started!
Why Biscoff Cheesecake?
Before we dive into the nitty-gritty, let’s talk about why this biscoff cheesecake deserves a spot in your dessert arsenal. Biscoff spread—the irresistible blend of caramel, cinnamon, and buttery goodness—is the kind of ingredient that elevates anything it touches. When paired with the smooth, tangy base of cream cheese, it creates a balance of flavors that’s rich yet surprisingly light.
Plus, it’s easy to make, no fancy baking degrees required! Whether you’re whipping it up for a special occasion or just because you’re craving something spectacular, this biscoff cheesecake recipe delivers every time.
What Ingredients You’ll Need for Biscoff Cheesecake Recipe
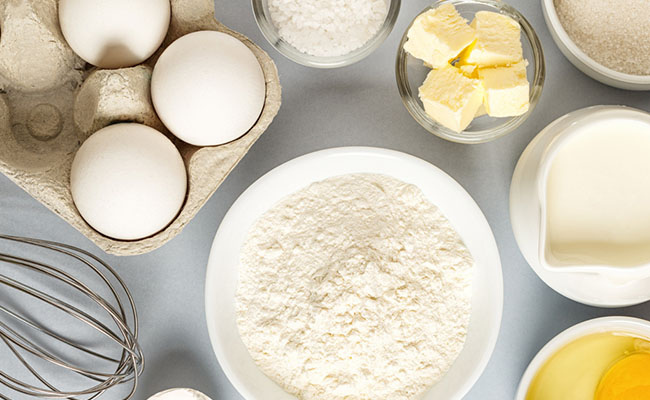

A quick trip to the grocery store is all it takes to gather these simple ingredients for the biscoff cheesecake:
For the Base:
- Biscoff biscuits – 250g (about 25 biscuits)
- Unsalted butter – 100g, melted
For the Filling:
- Cream cheese – 500g (room temperature, full-fat works best)
- Biscoff spread – 200g (plus extra for topping)
- Icing sugar – 100g
- Double cream – 200ml
(whipped to soft peaks)
For the Topping:
- Crushed Biscoff biscuits – a handful for garnish
- Extra Biscoff spread – gently warmed to drizzle
With everything ready, it’s time to channel your inner baker and create something truly unforgettable. Follow these straightforward steps, and watch as your kitchen transforms into a haven of sweet, caramelized magic. Trust the process—you’re about to surprise yourself with just how incredible this biscoff cheesecake turns out!
Step-by-Step Instructions for Biscoff Cheesecake Recipe
Step 1: Crafting the Perfect Biscuit Base
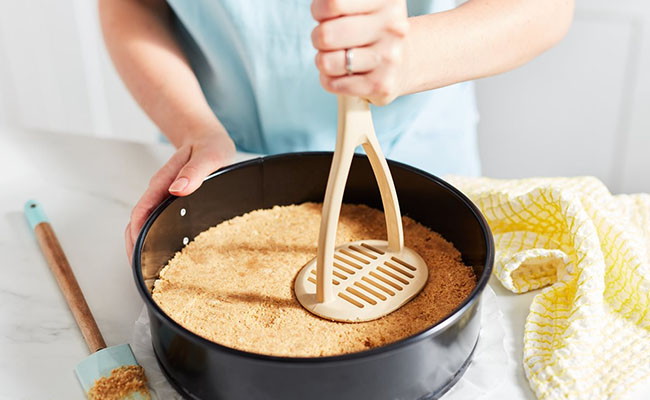

Start with the foundation of your cheesecake—the biscuit base. Crush the Biscoff biscuits into fine crumbs. A food processor makes this a breeze, but a sturdy bag and a rolling pin work just as well. Mix the crumbs with melted butter until they resemble damp sand.
Press this mixture into the bottom of a 20cm (8-inch) springform pan, ensuring an even layer. Use the back of a spoon to pack it firmly. Refrigerate for 30 minutes while you prepare the filling.
Step 2: Whipping Up the Filling
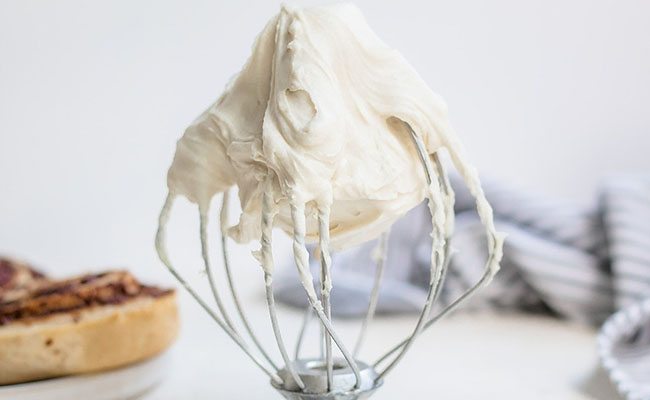

In a large mixing bowl, beat the cream cheese and icing sugar until smooth and lump-free. Add the Biscoff spread and mix until fully incorporated—the filling should be creamy and irresistibly fragrant at this point.
Fold in the whipped cream gently, ensuring you maintain the light texture. This step is where the magic happens, so take your time. Once combined, give it a quick taste (chef’s privilege!) and marvel at how good it already is.
Step 3: Bringing It All Together
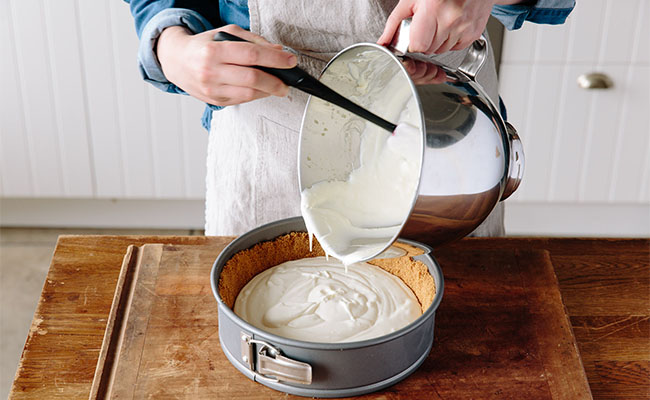

Pour the filling over the chilled biscuit base. Smooth the top with a spatula or the back of a spoon to create a level surface. Cover the pan with cling film and refrigerate for at least 4 hours, though overnight is even better. Patience, as they say, is a virtue.
Step 4: The Final Touches
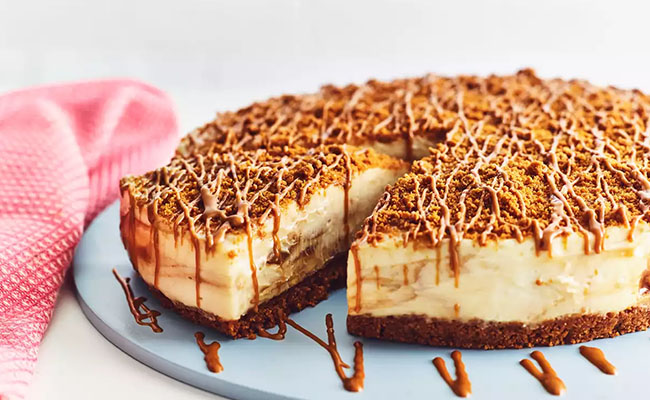

The cheesecake is set, and now it’s time to make it look as good as it tastes. Drizzle the warmed Biscoff spread over the top in an artistic zigzag pattern (or go wild; there are no rules here). Sprinkle crushed Biscoff biscuits for a bit of crunch and visual appeal.
Carefully remove the cheesecake from the springform pan and transfer it to a serving plate. Slice, serve, and prepare to bask in the compliments that are sure to follow.
Why This Biscoff Cheesecake Recipe Works Every Time
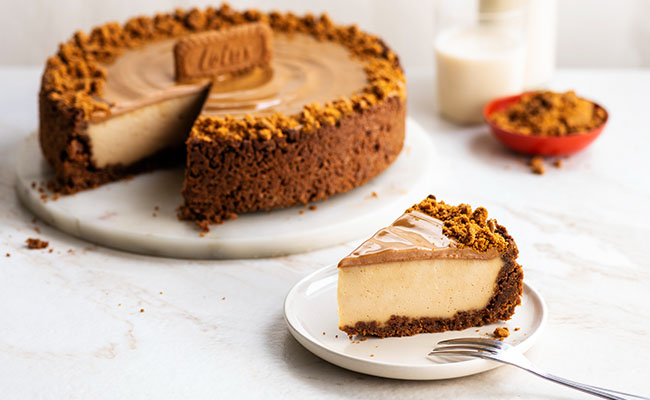

This cheesecake is all about balance—a buttery, crumbly base, a filling that’s creamy but not overly sweet, and a topping that ties it all together. It’s indulgent without being overwhelming, and the no-bake method means there’s no need to stress over water baths or cracked tops.
Whether it’s a birthday, a dinner party, or just a random Tuesday, this Biscoff cheesecake is a guaranteed crowd-pleaser. Bite into it once, and it’ll become your go-to recipe for any dessert-worthy occasion.
Top Tips for the Perfect Cheesecake
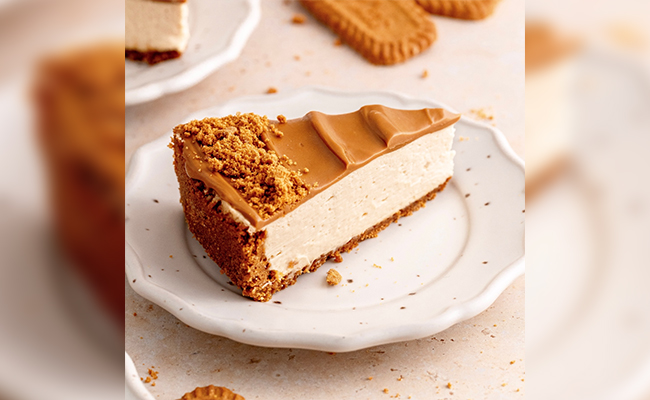

Cheesecake might seem intimidating, but with a few insider tips, even novices can achieve perfection. These simple tricks will ensure your Biscoff cheesecake is as picture-perfect as it deserves to be:
- Room Temperature Ingredients: Ensure your cream cheese and double cream are at room temperature before starting. This prevents lumps and makes the mixing process smoother.
- Don’t Skip the Chill Time: It might be tempting to cut corners, but letting the cheesecake set properly is crucial for the best texture and flavour.
- Warm Your Biscoff Spread: For easy drizzling, heat the Biscoff spread in the microwave for 10-15 seconds. Stir well to avoid any clumps.
- Use a Springform Pan: This makes removing the cheesecake a breeze and ensures a clean presentation.
- Fold, Don’t Beat: When incorporating the whipped cream into the filling, gently fold it in. Overmixing can deflate the cream and affect the texture of the cheesecake.
- Press the Base Firmly: Use a flat-bottomed glass or the back of a spoon to pack the crumbs tightly. A loose base can crumble when slicing, ruining the presentation.
How to Store and Serve Your Cheesecake
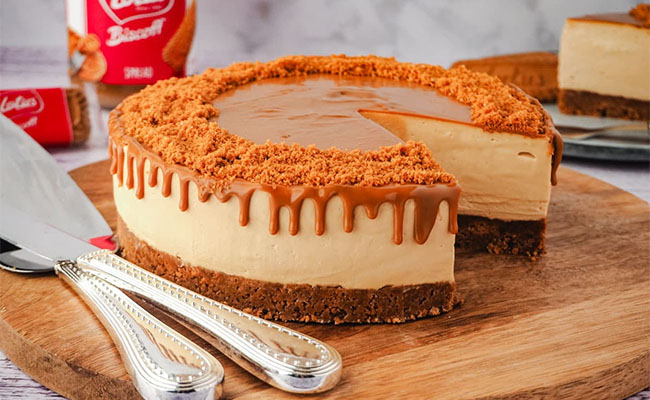

Let’s be honest—the chances of having leftovers with this Biscoff cheesecake are next to none. But on the rare occasion a miracle happens, here’s how you can store and serve it to keep it just as irresistible as the first bite!
- Storage: Cover the cheesecake with cling film or store it in an airtight container in the fridge for up to 3 days. For longer storage, freeze individual slices in an airtight container for up to a month.
- Serving: For the best taste, take the cheesecake out of the fridge 15-20 minutes before serving to let it soften slightly. This brings out the creamy texture and enhances the flavors.
- Reheating the Topping: If you have extra Biscoff drizzle stored in the fridge, warm it gently before serving to recreate that silky topping.
And with that, we’ve reached the end of this blog about the Biscoff cheesecake recipe! Now that you’ve got all the secrets to mastering this no-fail dessert, the only thing left to do is roll up your sleeves, make one yourself, and savour a slice (or two) to enjoy the fruits of your labour.
Even if baking isn’t your thing, don’t miss out on this delicacy—order it online and let the Biscoff cheesecake work its magic. Trust me, it will leave you—and everyone lucky enough to taste it—absolutely smitten. So, what are you waiting for? Indulge in its deliciousness today!

